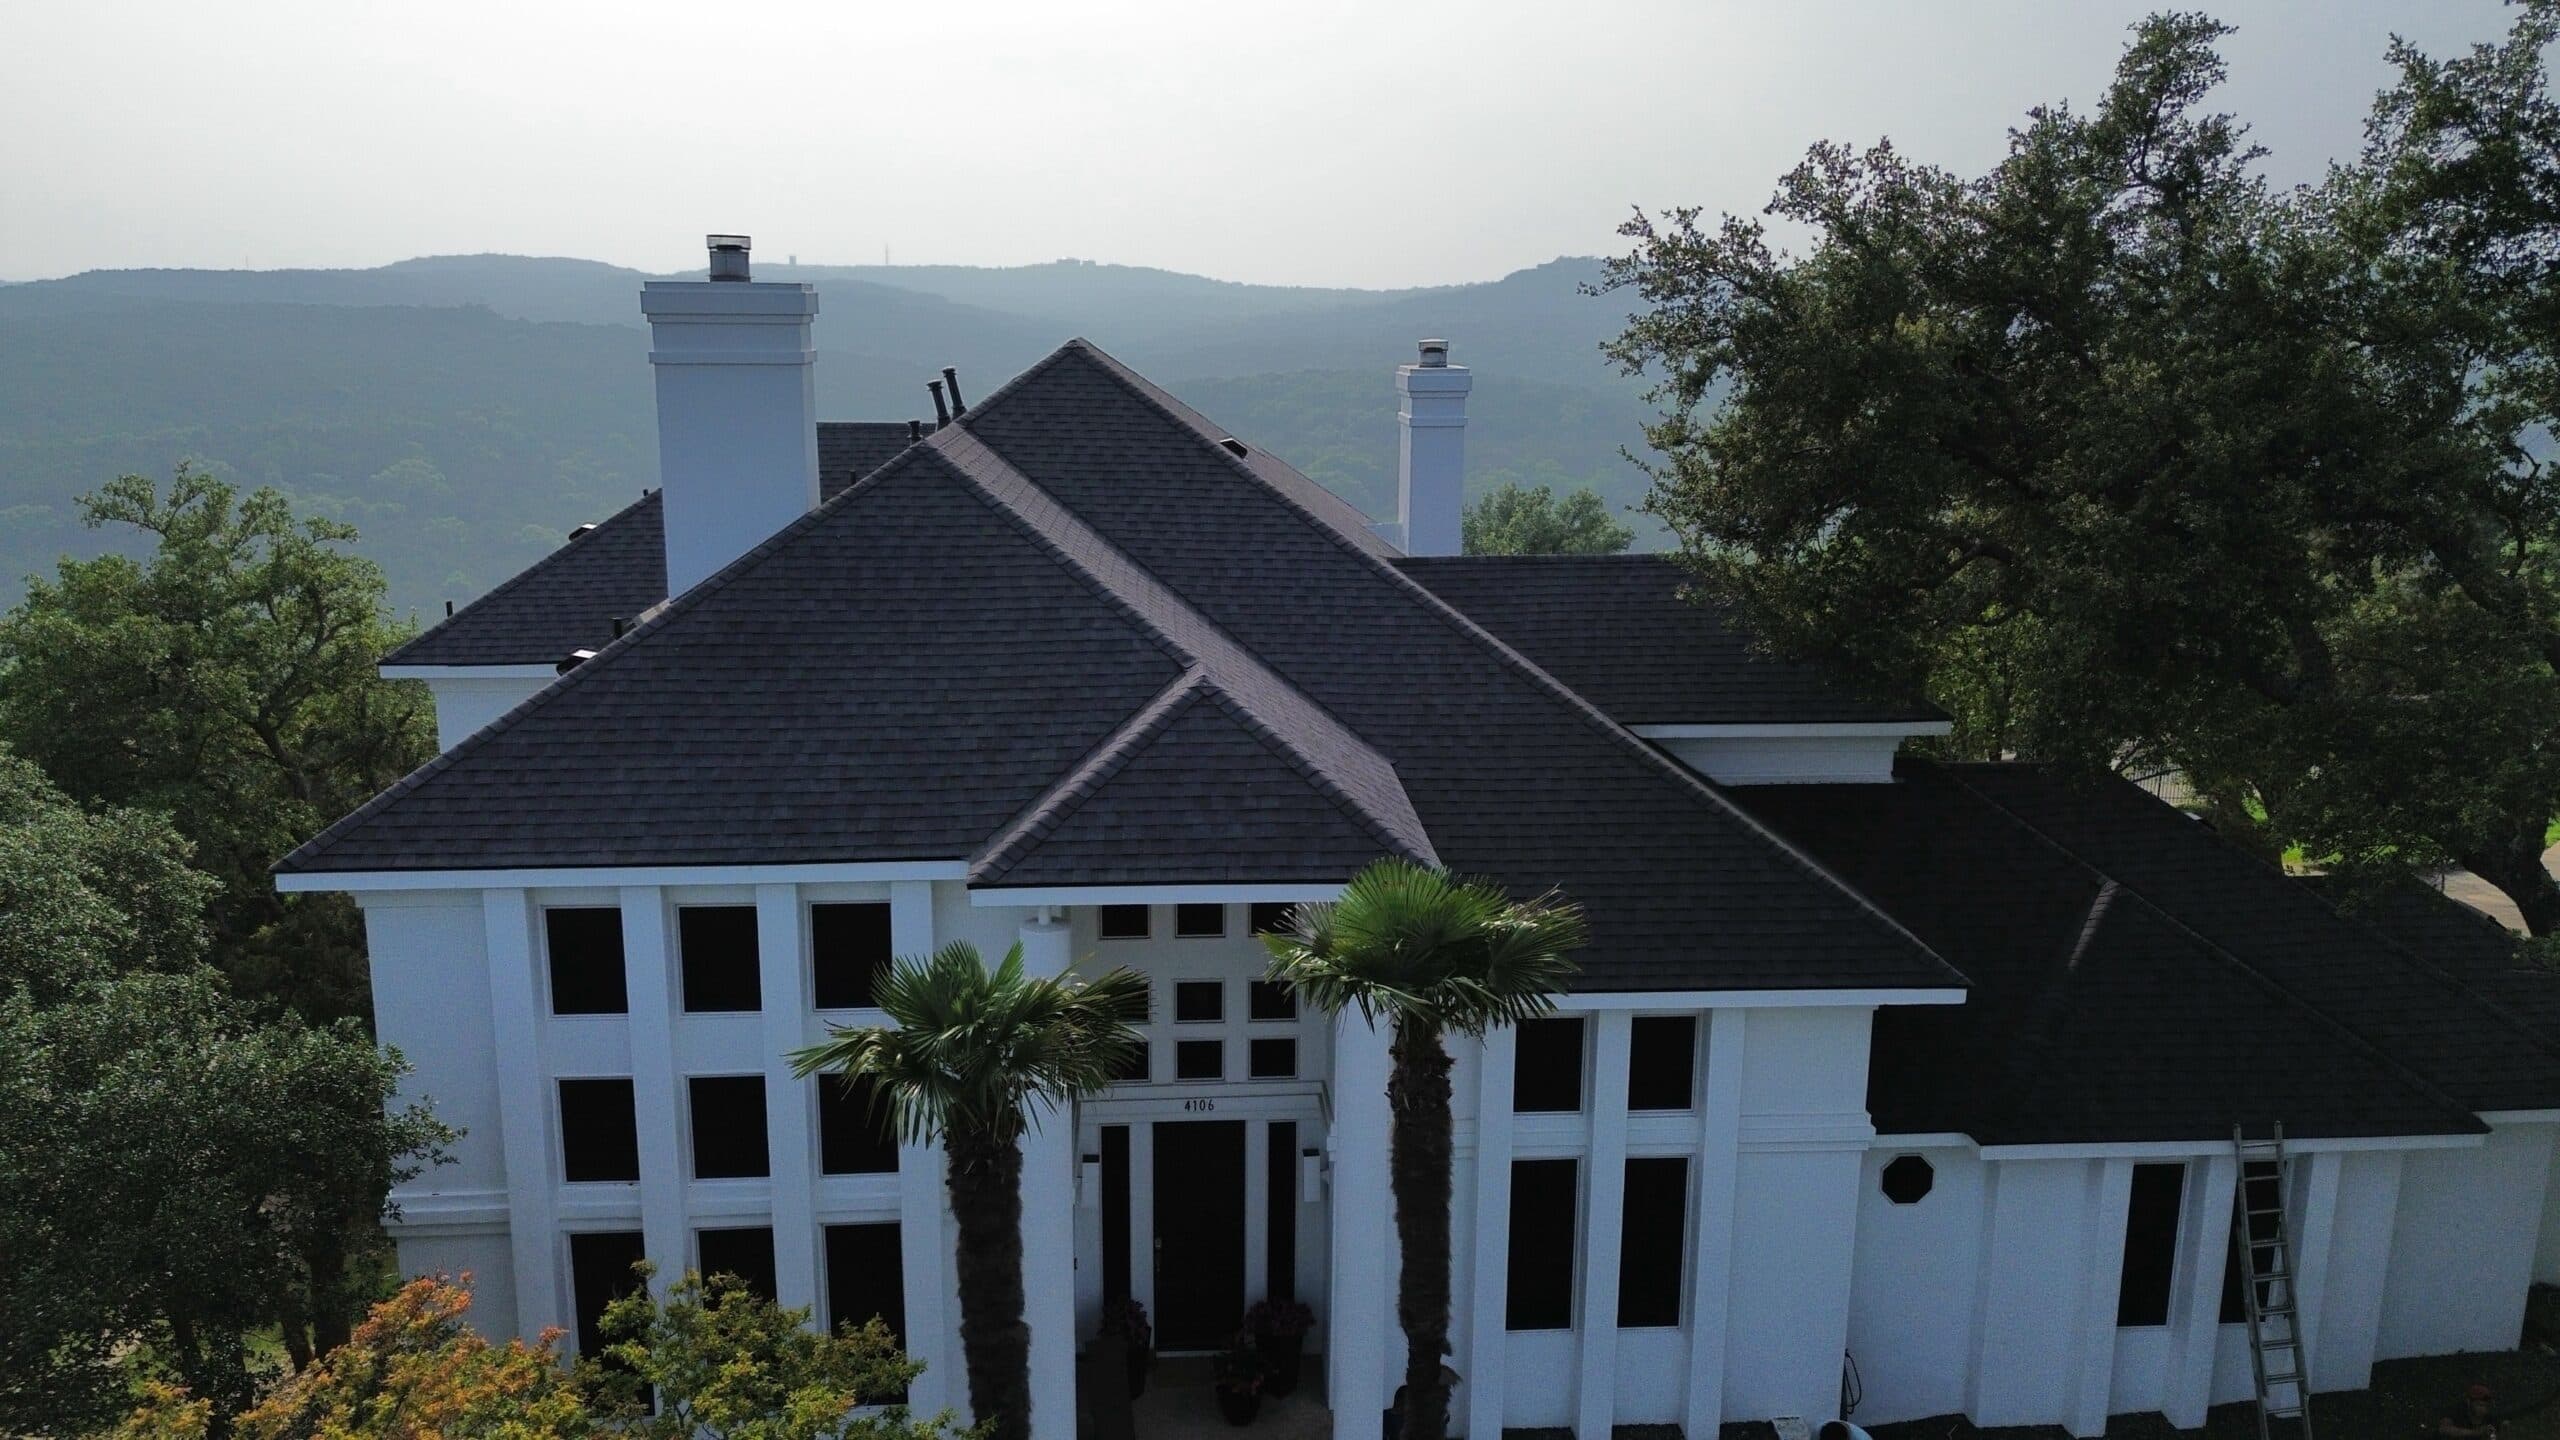
Leander Storm Damage Assessment: How to Inspect Your Roof After Hail & Wind (2026)
Leander sits in the heart of "Hail Alley," experiencing severe weather events that can damage roofs, gutters, and siding. After a major storm, many homeowners aren't sure how to assess whether their property sustained damage. As Leander's CertainTeed ShingleMaster Premier certified roofing contractor, we inspect storm damage throughout the area and understand exactly what to look for.
This guide helps you identify potential storm damage, document it properly, and understand when to contact your insurance company.
Understanding Leander's Storm Patterns
Recent Major Weather Events
Leander's location northwest of Austin creates a natural storm corridor. Here are significant weather events that affected local properties:
March 2023 Hailstorm
- Hail Size: Golf ball to tennis ball (1.75"-2.5" diameter)
- Areas Affected: Crystal Falls, Benbrook Ranch, Mason Hills, widespread across Leander
- Impact: Significant roof, gutter, and siding damage reported
May 2022 Hailstorm
- Hail Size: Baseball-sized (2.75"+ diameter)
- Areas Affected: Eastern Leander (Chandler Creek, Forest Creek, Paloma Lake)
- Impact: Severe damage to roofing materials and exterior property components
April 2021 Hailstorm
- Hail Size: Softball-sized (4"+ in some areas)
- Areas Affected: Northwestern Leander (Teravista, Walsh Ranch, Heritage Center)
- Impact: Extensive damage requiring professional assessment
Leander Neighborhoods with Higher Exposure
Areas That Experience More Severe Weather:
- Teravista: Open terrain with less natural windbreak
- Forest Creek: Elevated topography that experiences direct storm impact
- Cat Hollow: Newer development in the primary storm path
- Walsh Ranch: Large master-planned community affected by multiple events
- Heritage Center: Established neighborhood where aging roofs may be more vulnerable
- Brushy Creek: Historic area with varied roof ages and materials
Important Note: Storm damage isn't always immediately visible. Professional inspection is often necessary to identify compromised roofing materials.
What Storm Damage Looks Like
Hail Damage Indicators
On Your Roof (Visible from Ground or Drone):
- Dark spots where granules have been knocked off shingles
- Shiny spots indicating exposed asphalt
- Dents or divots in shingles
- Cracked or fractured shingles
- Missing pieces of shingles
On Gutters and Downspouts:
- Dents or dings in metal gutters
- Cracked or broken gutter sections
- Damaged downspout connections
- Dents on gutter guards or covers
On Other Property Components:
- Dented or damaged air conditioning units
- Damaged window screens
- Dents on metal siding or trim
- Damage to skylights or roof vents
- Impact marks on painted surfaces
On Your Property:
- Hail accumulation on the ground
- Damaged plants or stripped leaves
- Broken branches
- Dents in cars or outdoor equipment
Wind Damage Indicators
Roof Damage:
- Missing shingles or shingle tabs
- Lifted or curled shingle edges
- Exposed underlayment (black paper visible)
- Displaced or missing ridge caps
- Torn or damaged flashing around chimneys and vents
Structural Concerns:
- Loose or detached gutters
- Damaged fascia or soffit
- Fallen tree limbs on roof
- Debris lodged in valleys or gutters
- Sagging roof sections
Safe Assessment: What You Can Do
From-Ground Inspection
Safety First: Never climb on your roof. Storm damage assessment can be done safely from the ground with proper tools.
What to Check:
-
Walk Around Your Property
- Photograph all four sides of your home
- Look for obvious shingle damage
- Check gutters and downspouts for dents
- Inspect AC units and outdoor equipment
- Document any debris or hail stones
-
Use Binoculars
- Examine shingles for dark spots or missing granules
- Look for lifted or missing shingles
- Check ridge caps and roof edges
- Inspect flashing around chimneys
-
Check Your Yard
- Look for shingle pieces or granules
- Note fallen branches or debris
- Photograph any hail stones with a ruler for scale
- Check fence and deck for impact damage
-
Interior Inspection
- Look for ceiling stains or discoloration
- Check attic for water intrusion
- Note any new leaks or drips
- Photograph any interior damage
Photo Documentation Tips
Essential Photographs to Take:
📸 Overall Property:
- All four sides of your home
- Roof from all visible angles
- Yard showing debris or hail
- Neighboring properties (if they show damage)
📸 Specific Damage:
- Close-ups of dented gutters
- Damaged AC unit or equipment
- Window screen damage
- Any visible roof damage
- Hail stones with measurement reference (ruler, quarter, etc.)
📸 Context Photos:
- Street view showing storm impact
- Date/time stamp enabled on camera
- Multiple angles of same damage
- Before photos if you have them
Photography Best Practices:
- Take photos in good lighting
- Include reference objects for scale
- Capture wide and close-up shots
- Save original, unedited files
- Organize by date and location
- Back up to cloud storage
When to Request Professional Inspection
Signs You Need Professional Assessment
Definitely Schedule Inspection If:
- ✅ You see visible damage to gutters, siding, or AC unit
- ✅ Neighbors are reporting damage or filing claims
- ✅ Your area experienced golf ball-sized hail or larger
- ✅ You notice missing or damaged shingles
- ✅ There's interior water damage or leaking
- ✅ Your roof is over 10 years old and a major storm occurred
Consider Inspection Even If:
- Your property is in a neighborhood where others sustained damage
- A severe storm passed through, even without obvious signs
- You're approaching the end of your roof's typical lifespan
- You plan to sell and want to ensure roof integrity
- It's been 3+ years since your last professional inspection
What Professional Inspection Includes
Our Comprehensive Assessment:
-
Complete Roof Examination
- All roof slopes and surfaces
- Flashing around chimneys, vents, and valleys
- Ridge caps and roof edges
- Underlayment condition (where accessible)
- Decking integrity
-
Advanced Documentation
- Drone photography for comprehensive views
- Thermal imaging to detect hidden moisture
- Detailed photo documentation
- Measurements and material assessment
- Written inspection report
-
Component Inspection
- Gutters and downspouts
- Soffit and fascia
- Roof penetrations (vents, pipes, skylights)
- Attic ventilation
- Interior moisture indicators
-
Professional Report
- Detailed findings with photos
- Assessment of damage extent
- Recommendations for repair or replacement
- Estimated scope of work
- Documentation suitable for insurance review
Understanding Your Next Steps
If Damage is Found
1. Review the Inspection Report
- Understand what damage was identified
- Ask questions about severity and urgency
- Get clarification on recommended repairs
- Discuss timeline for addressing issues
2. Contact Your Insurance Company
- Report the damage promptly
- Provide the date of the storm event
- Have your documentation ready
- Request an adjuster inspection
3. Prevent Further Damage
- If there's active leaking, emergency tarping may be needed
- Document all temporary protective measures
- Keep receipts for emergency services
- Don't make permanent repairs before adjuster inspection
4. Get Written Estimates
- Request detailed scope of work
- Compare estimates from licensed contractors
- Ensure estimates include all necessary repairs
- Keep all documentation organized
If No Damage is Found
Peace of Mind:
- You have documentation of your roof's condition
- Baseline for future reference
- Opportunity to discuss maintenance recommendations
- Understanding of your roof's remaining lifespan
Preventive Maintenance:
- Schedule regular inspections
- Address minor issues before they become major
- Keep gutters clean
- Monitor roof condition after future storms
Working with Insurance
Documentation They'll Need
Be Prepared to Provide:
- Date and time of storm event
- Photos of damage
- Professional inspection report
- National Weather Service storm data
- Your policy information
- Contact information
Helpful Context:
- Neighborhood impact (if widespread)
- Previous roof maintenance records
- Roof age and material type
- Any prior damage or repairs
The Insurance Process
Typical Timeline:
- Report Claim: Contact your insurance company (within days of discovering damage)
- Adjuster Assigned: Usually within 3-14 days
- Property Inspection: Adjuster visits to assess damage
- Estimate Provided: Insurance company sends coverage determination
- Review Period: You review and can dispute if needed
- Approval: Work can proceed once approved
- Completion: Final payment after work is done
Your Rights:
- Choose your own contractor
- Request reinspection if you disagree
- Get second opinions
- Review your policy carefully
- Ask questions about coverage
Leander Storm Season Preparation
Before the Storm
Proactive Measures:
- Schedule annual roof inspection
- Clean gutters and downspouts
- Trim overhanging tree branches
- Secure loose outdoor items
- Document current roof condition
- Review insurance policy coverage
Have Ready:
- Emergency contact numbers
- Tarps and basic supplies
- Flashlight and batteries
- Camera or smartphone for documentation
- Your insurance policy information
After the Storm
Immediate Actions:
- Check for obvious damage safely from ground
- Document with photos and video
- Note date, time, and storm severity
- Check for interior leaks
- Contact professional inspector if damage suspected
Within Days:
- File insurance claim if damage found
- Schedule professional inspection
- Arrange emergency repairs if needed
- Continue documenting any changes
- Save all receipts and records
Why Choose Ripple Roofing for Assessment
Our Leander Experience
Local Expertise:
- 🏆 CertainTeed ShingleMaster Premier Certified (top 1% of contractors)
- 📍 Round Rock-Based with permanent local presence in Leander
- ⭐ 5.0 Star Rating on Google
- 🛡️ Fully Licensed & Insured in Texas
Comprehensive Service:
- FREE detailed storm damage assessment
- Advanced drone and thermal imaging
- Written inspection reports
- Insurance documentation support
- No-pressure consultation
- Same-day emergency service available
Teravista • Forest Creek • Cat Hollow • Walsh Ranch • Heritage Center • Brushy Creek
Frequently Asked Questions
How soon after a storm should I get my roof inspected in Leander? Within a few days if you suspect damage, and immediately if you notice active leaking. Hail damage doesn't always leak right away, but the underlying granule loss and micro-fractures worsen with continued weather exposure.
Does a specific hail size guarantee my claim will be covered? No fixed size guarantees or excludes coverage — adjusters evaluate actual damage. Golf ball-sized hail (1.75") or larger is a strong signal a professional inspection is worthwhile even without obvious damage from the ground.
Can I inspect my own roof instead of calling a professional? You can safely check ground-level indicators — gutters, AC unit, screens, visible shingle damage. But hail damage on the roof surface itself is often only visible up close, and getting on the roof yourself is a real fall risk. A free professional inspection is safer and more thorough.
What if the adjuster finds no damage but my neighbors are getting new roofs? Request a reinspection, ideally with your contractor present. Adjusters miss damage, especially on darker shingles or roofs with subtle granule loss. A documented second opinion is standard practice, not confrontational.
Get Your Free Storm Damage Assessment
Don't Wait If You Suspect Damage:
After severe weather, early detection prevents minor damage from becoming major problems. Our free inspection gives you peace of mind and proper documentation if you need to file a claim.
📞 Call (512) 763-5277
24/7 Emergency Service Available
Serving Leander and all Central Texas communities with professional storm damage assessment and expert roofing services. CertainTeed ShingleMaster Premier certified, fully insured, and locally owned.